
Is Your Gas-Powered Equipment Sitting Idle? Here’s How to Store It Safely and Keep It Running Strong
Discover how to store gas-powered equipment the right way. Learn fuel tips, cleaning methods, and storage strategies to protect your tools year-round.

Curious about how much it costs to store a boat per month? Explore average prices, storage types, and tips for boat owners across the U.S.
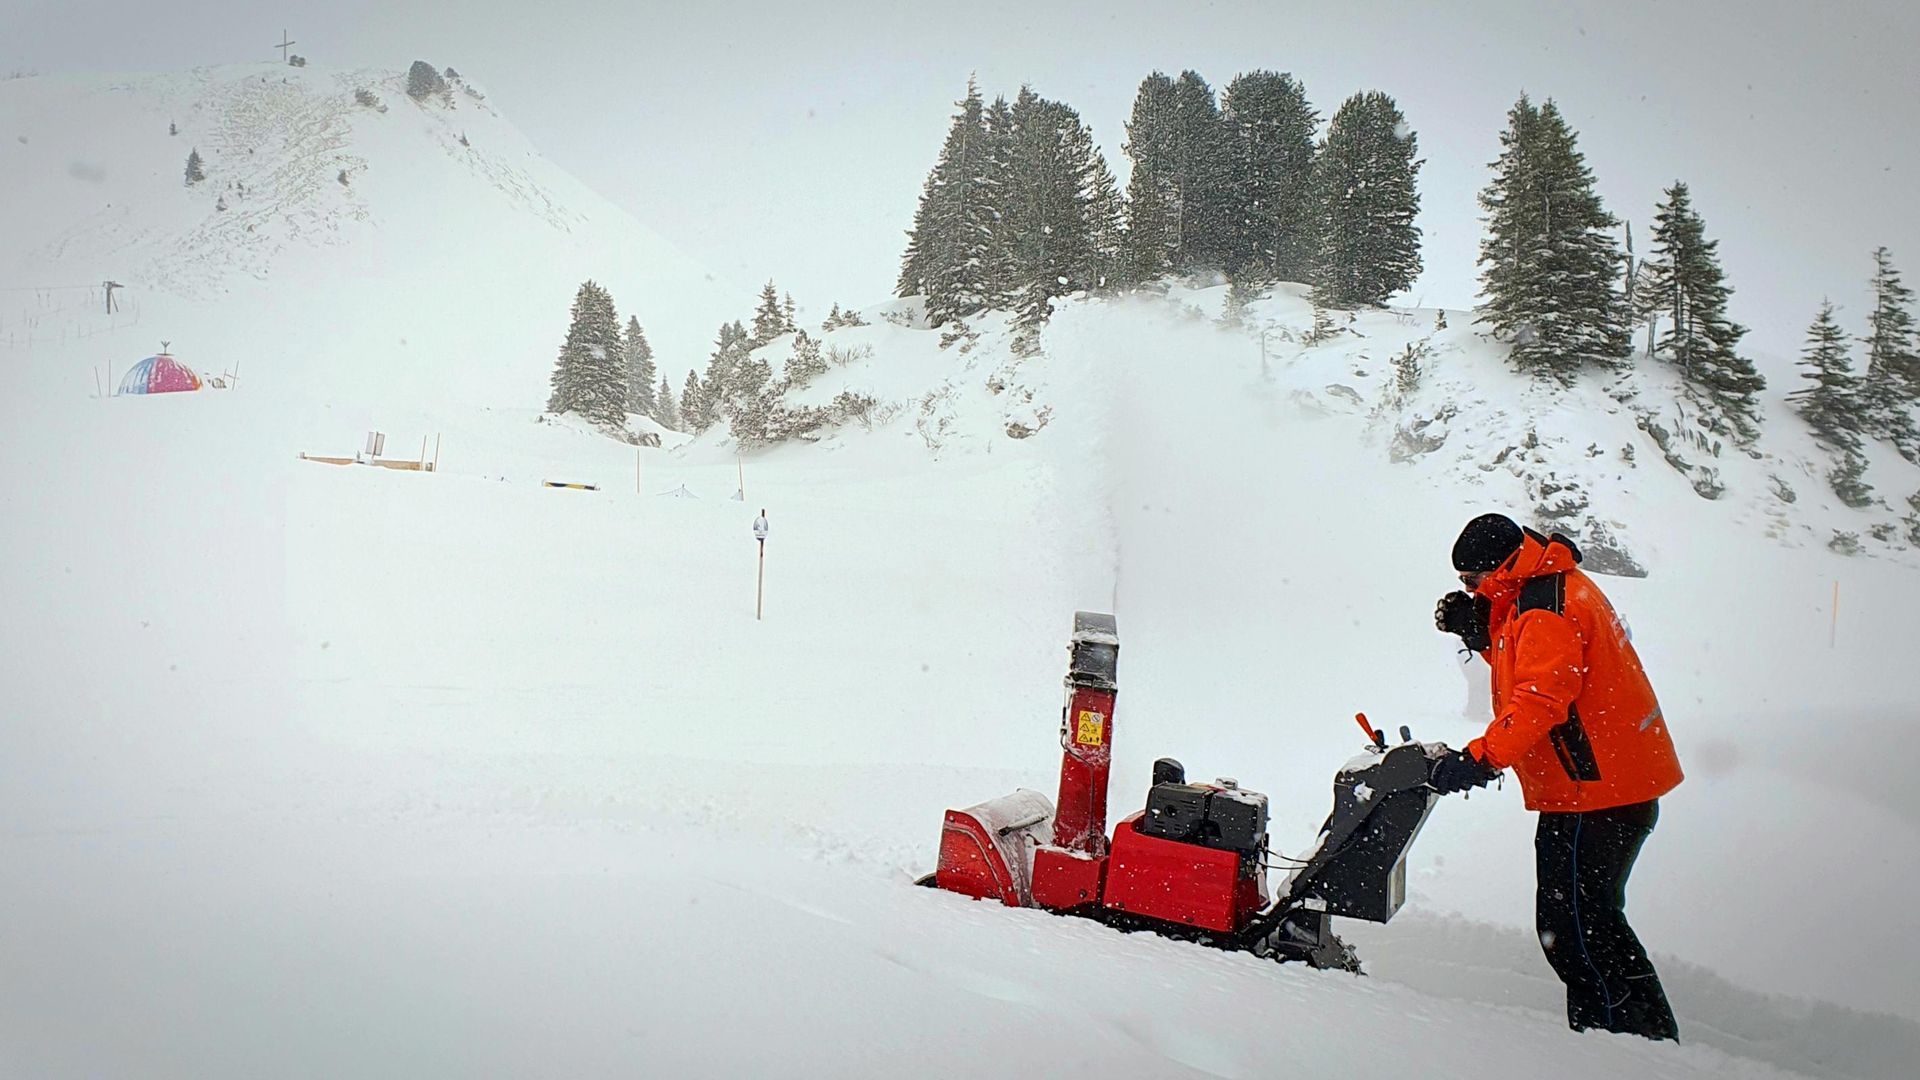
Wondering how to store your snowblower for summer? Learn step-by-step tips to protect your equipment, prevent damage, and save space.
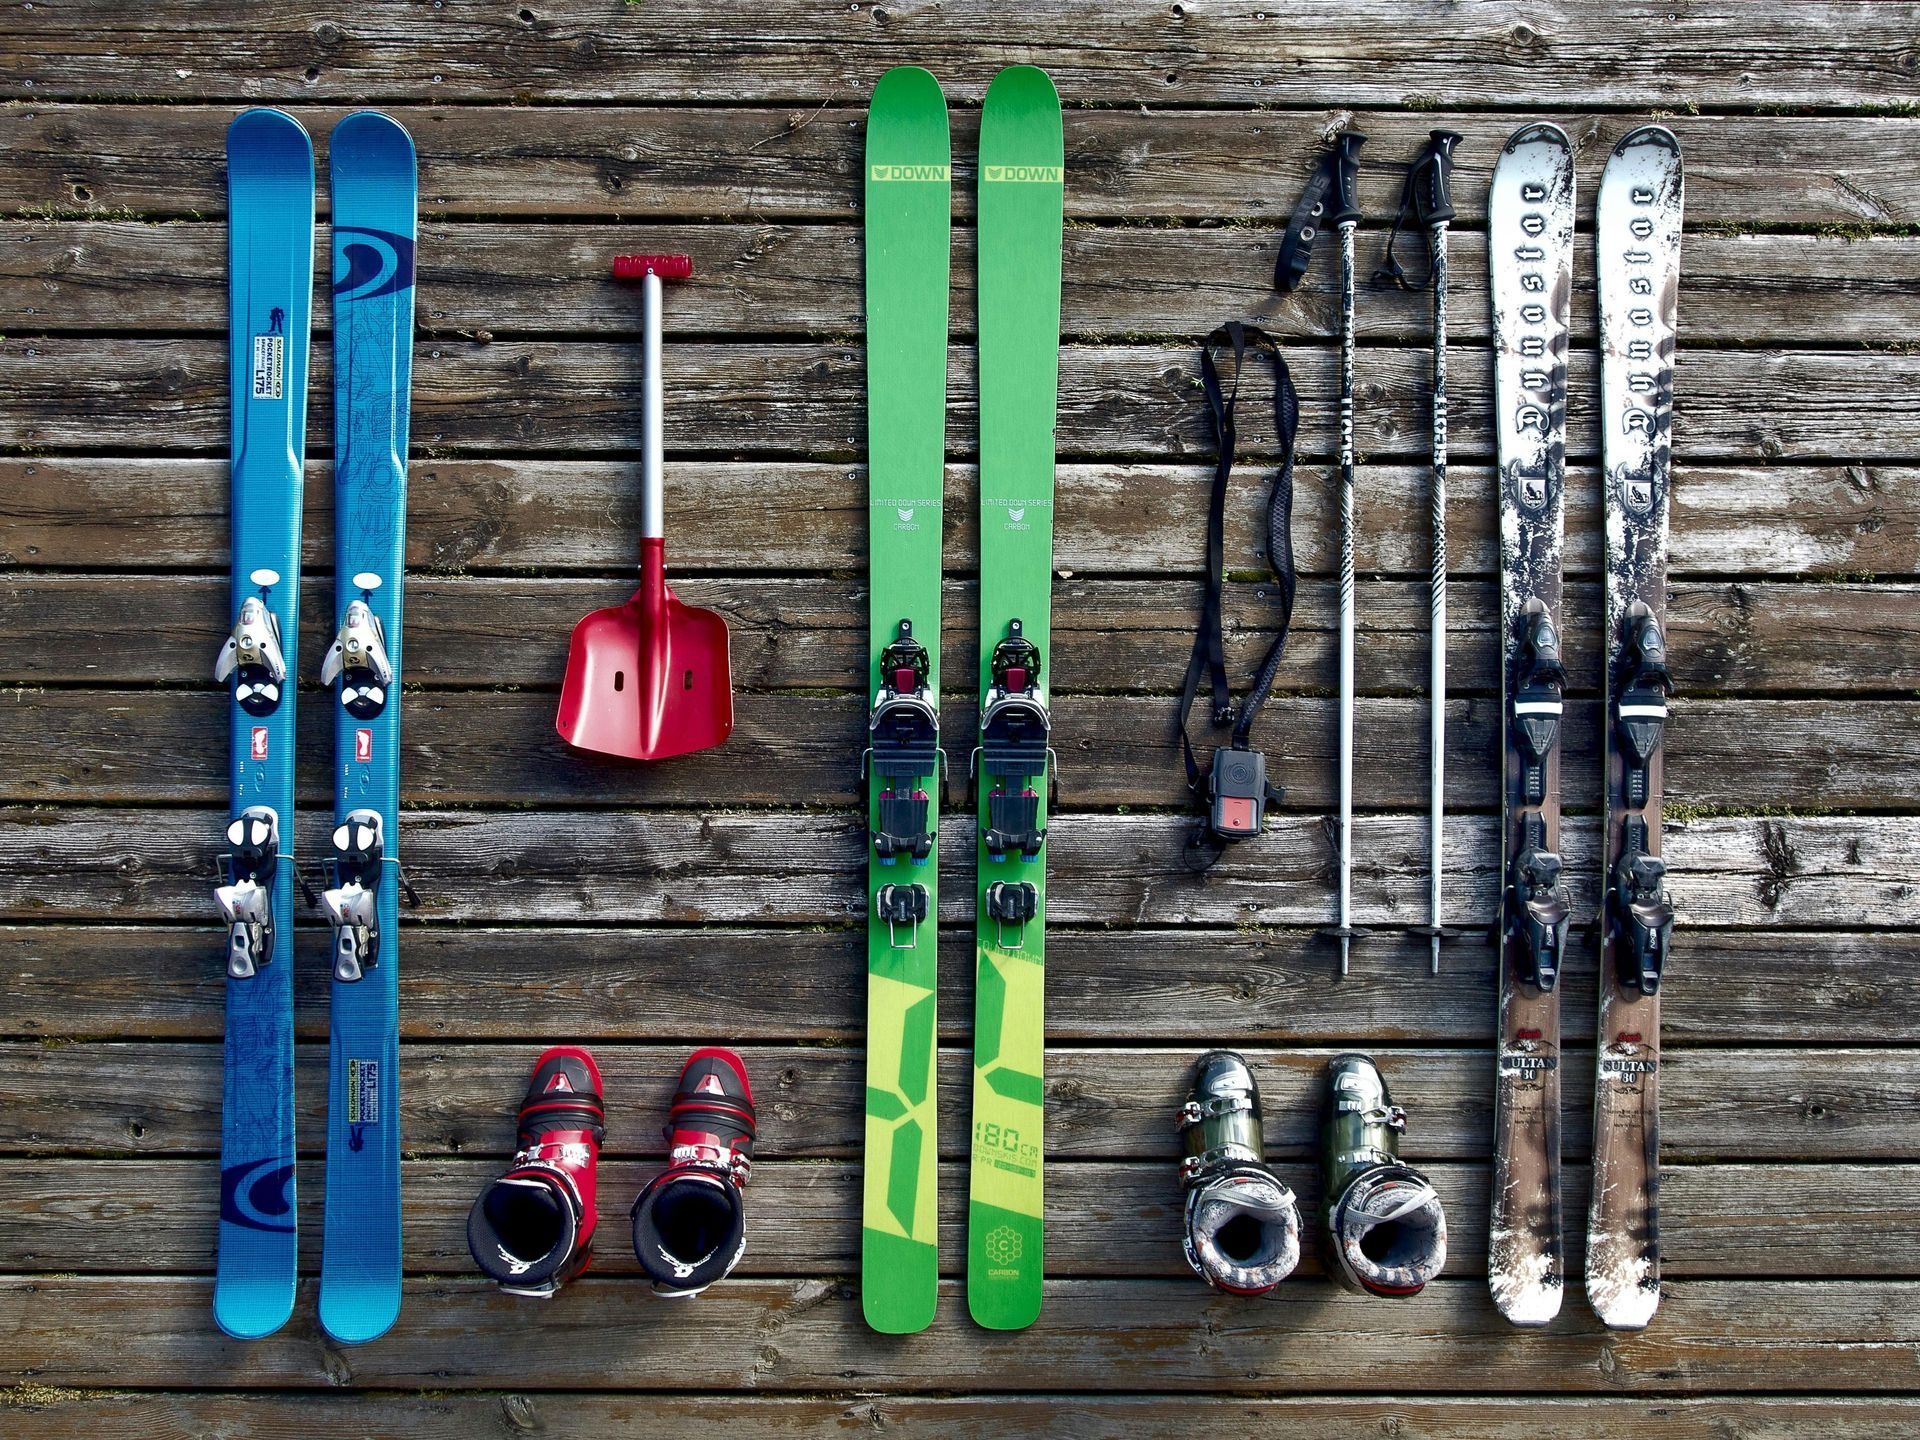
Discover how to store ski clothes properly to protect insulation, prevent damage, and keep gear fresh for next season. Expert storage tips inside.

Discover how to store sweaters in summer the right way. Learn cleaning, folding, and climate tips to keep sweaters fresh and damage-free.
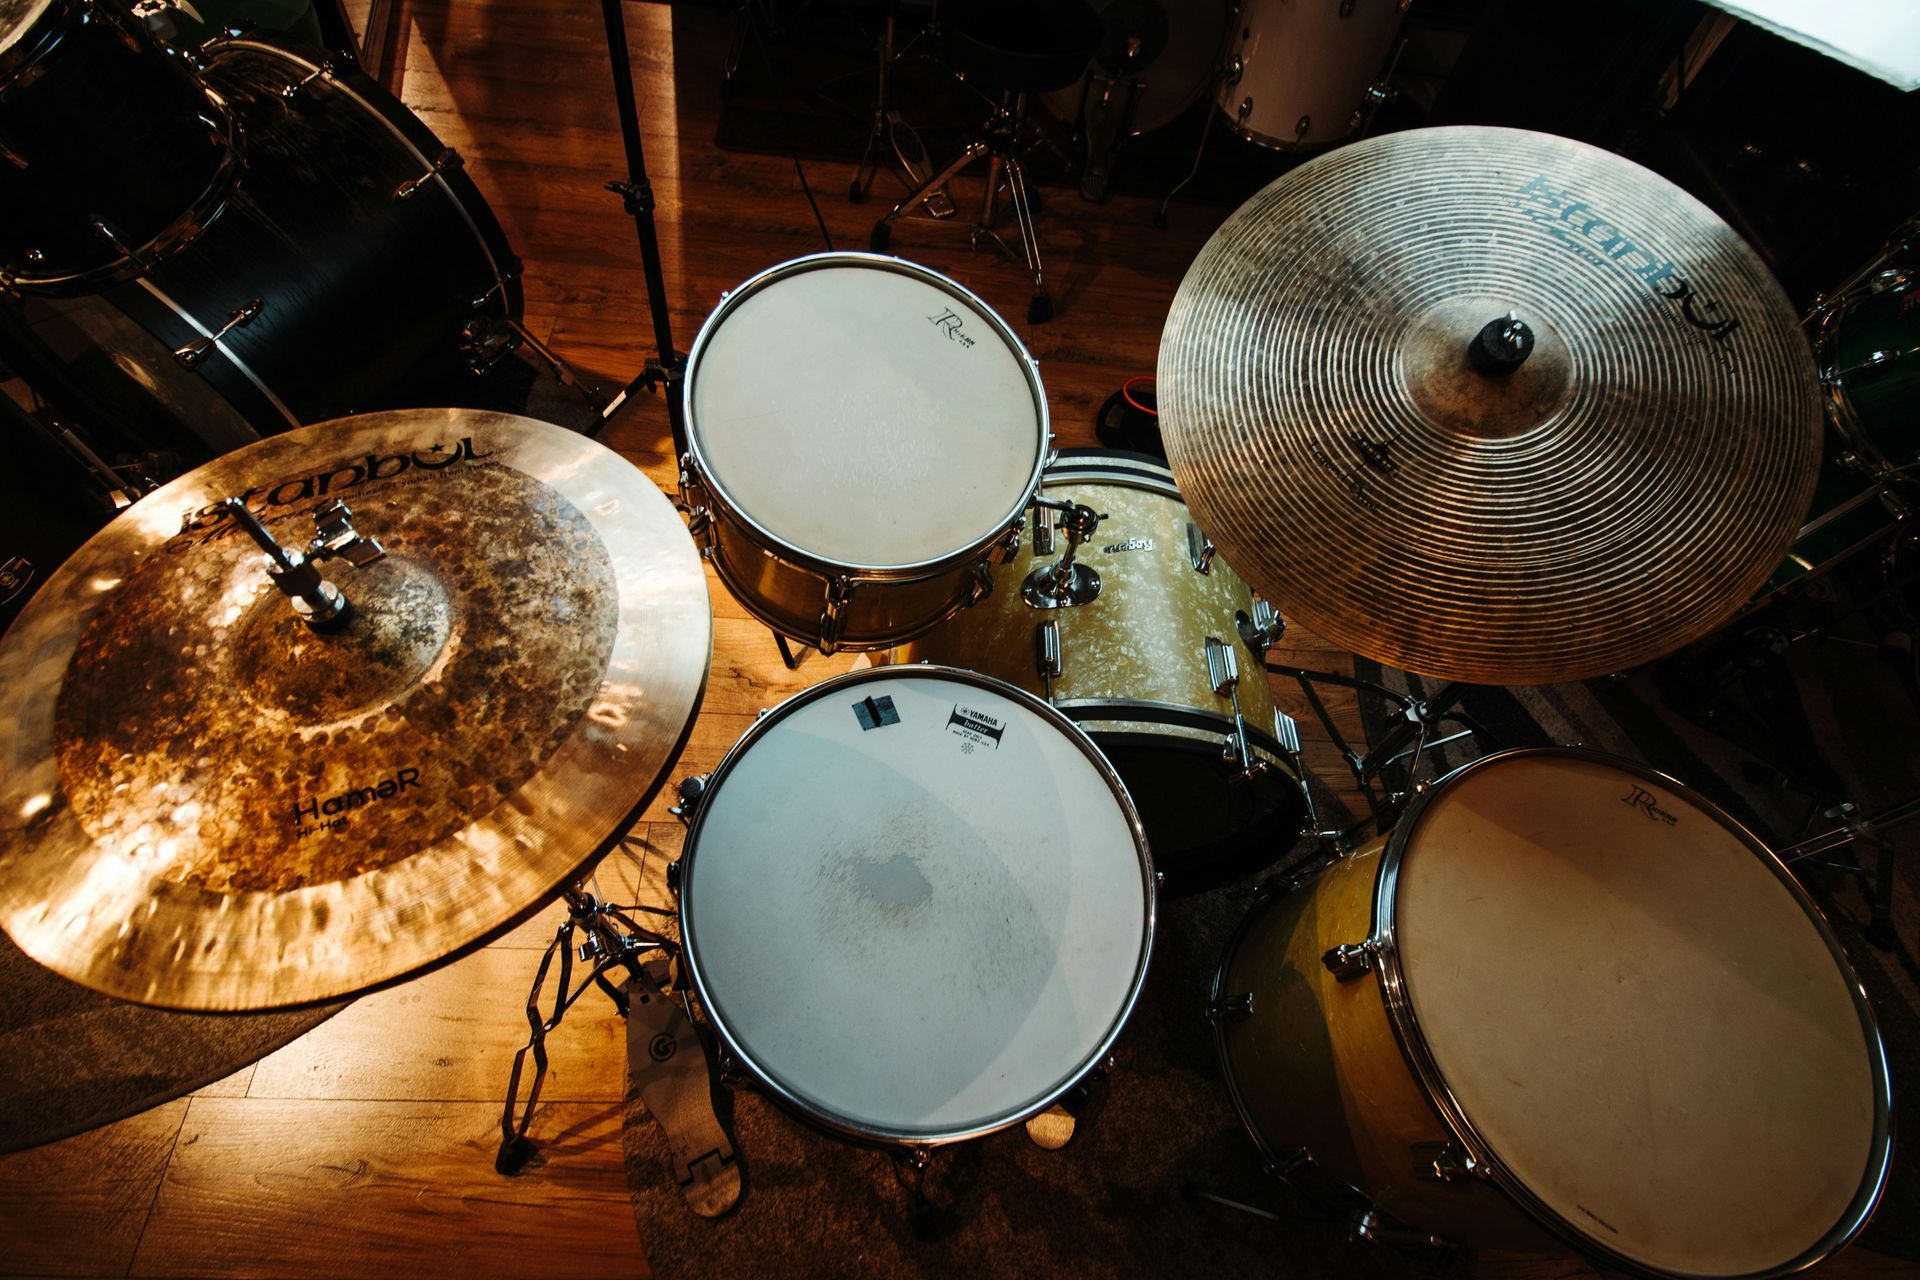
Discover how to store a drum kit safely with expert tips on cleaning, packing, and climate control. Keep your drums protected and performance-ready.